

Overview
Classes in TeachersAI group students together so teachers can assign assessments, track progress, and manage learning in one place. A class can have a name, a description, an academic year, one or more subjects, multiple students, and one or more teachers. Teachers can look after several classes at once, and a student can appear in more than one class.
Before you can create a class, students need to exist in the system. Students are added either individually or via a bulk CSV upload by you (if you are an individual teacher) or your school admin. Once they are in the system they form a pool that you draw from when building a class.
Adding Students to the System
Students need to be in the system before they can be enrolled in a class. There are two ways to add them:
● Individual — go to the Students section in the left-hand menu and add the student’s name and email address. They will receive an invitation email and can then log in with their own account.
● Bulk upload — use the Import option on the Classes page to upload a CSV file containing student details. This is the fastest option when setting up a new cohort. Your school admin may provide this file.
Once added, students appear in your student pool and can be selected when creating or editing a class.
Creating a Class
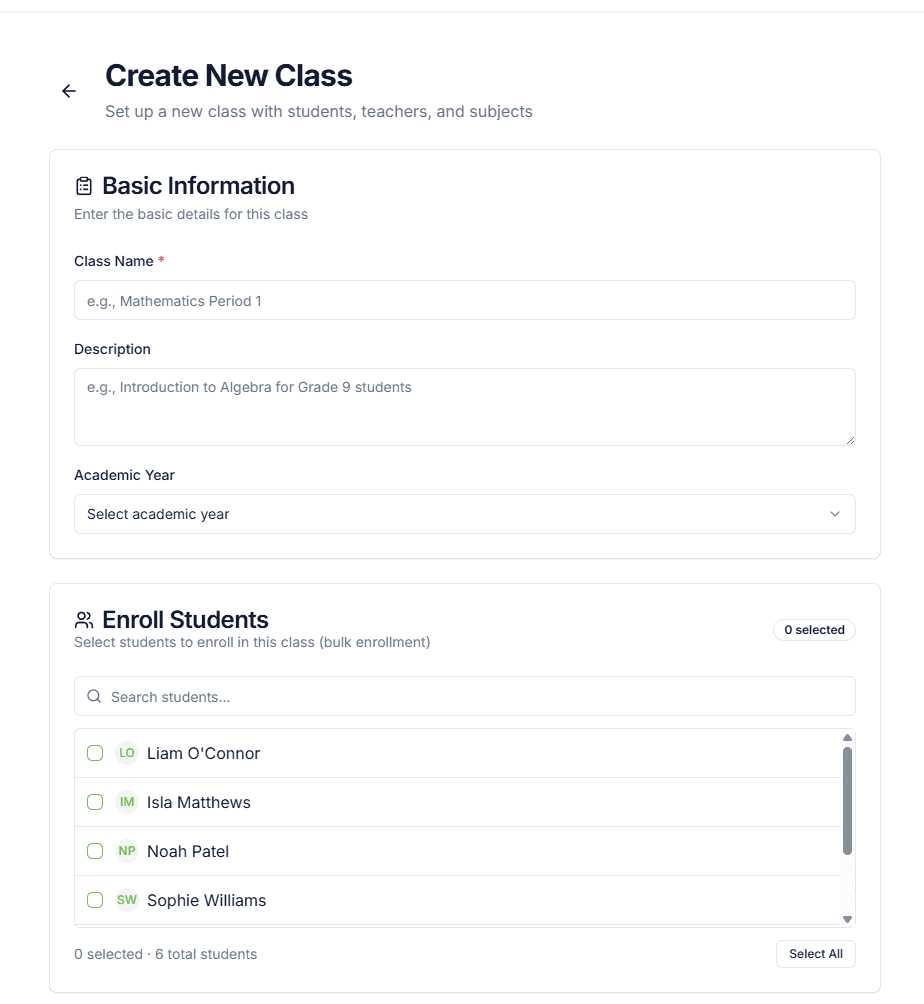
From the Classes page, click New Class. The Create New Class screen is divided into four sections:
1. Basic Information
● Class Name (required) — enter a name that helps you identify the class. TeachersAI doesn’t enforce a naming convention, so use whatever makes sense for your context (e.g. “Year 10 Science”, “Mathematics Period 1”, or simply “4.1”).
● Description (optional) — a short note about the class, useful if you have multiple classes with similar names.
● Academic Year (optional) — select the academic year this class belongs to.
2. Enrol Students
A scrollable list shows all students currently in the system. Tick the checkbox next to each student you want to enrol. Use the search bar to find students by name, or click Select All to add everyone at once. A counter at the bottom shows how many are selected out of the total available.
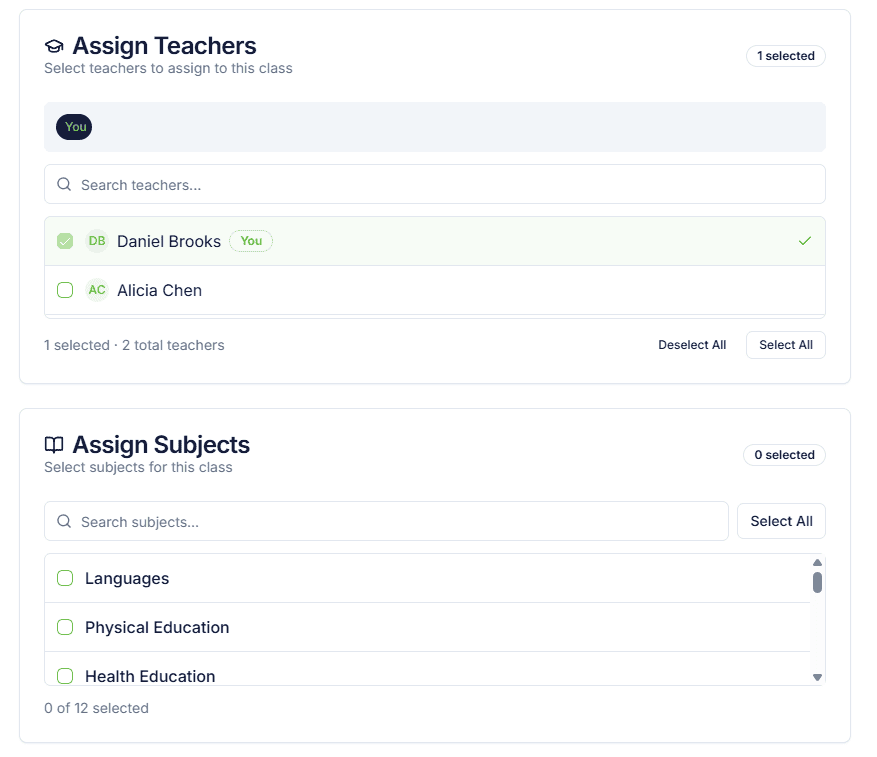
3. Assign Teachers
You are automatically added as a teacher for this class (shown as “You” in the selected bar). If other teachers at your school also need access to this class, select them from the list. A class can have multiple teachers, and all of them can view student progress and mark work.
4. Assign Subjects
Select one or more subjects for this class from the list (e.g. Languages, Physical Education, Health Education). You can search or use Select All. A class can cover multiple subjects if needed.
Once you’re happy with all sections, click Create Class.
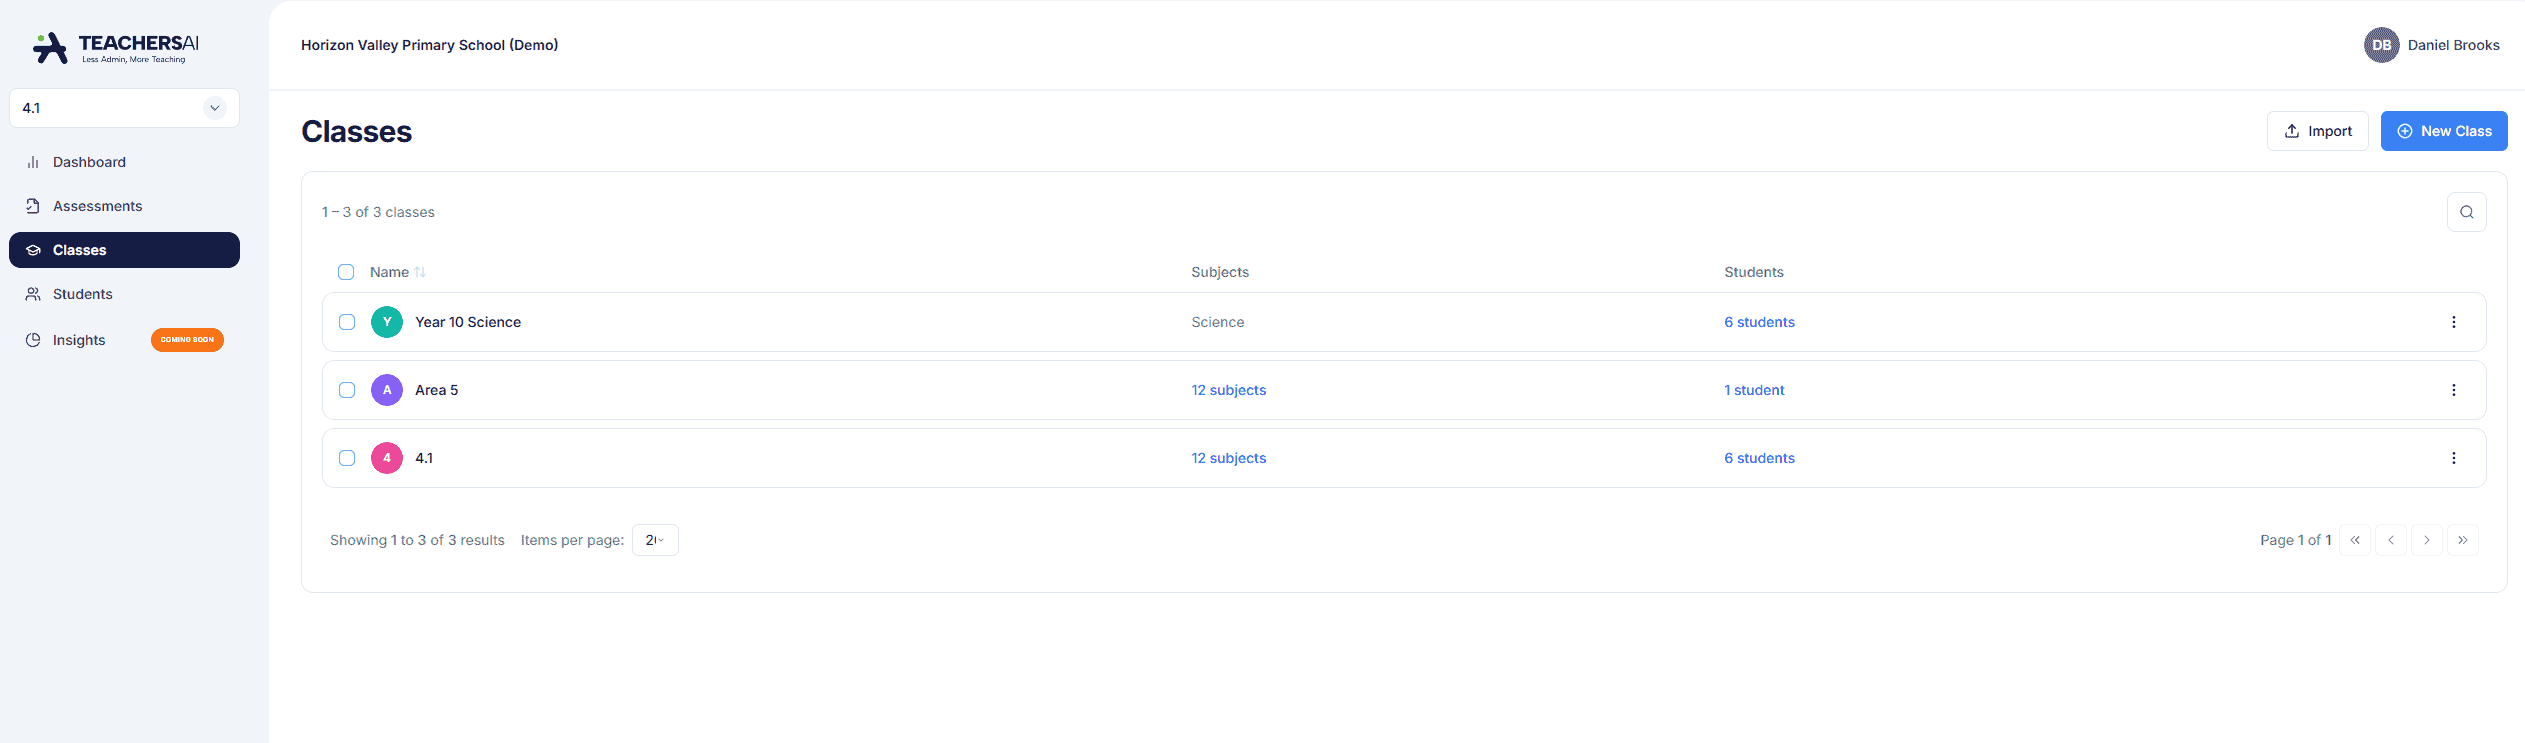
Viewing and Managing Your Classes
All your classes are listed on the Classes page, showing the class name, subjects assigned, and number of students enrolled. Click on a class to open it and see the enrolled students, the assessments assigned to that class, and how each student is progressing.
The class selector in the top-left of the screen lets you switch between your classes quickly. There is no limit to how many classes you can have.
How Students Receive Assessments
When you assign an assessment to a class, it becomes visible to every student enrolled in that class. Students see it on their dashboard, complete it through their own login, and submit it when ready. Teachers assigned to that class can then view submissions and mark them.
Common Class Structures
Classes are flexible and can reflect how your school actually runs. Two common patterns:
● Same students, multiple classes (e.g. primary school): create a separate class for each subject but enrol the same group of students in all of them. For example, “4Y Mathematics”, “4Y English”, and “4Y Health” can each contain the same 28 students.
● Different students per class (e.g. secondary or specialist): each class has a completely different set of students. A specialist teacher might have “Year 10 Science”, “Year 9 Science A”, and “Year 9 Science B” as three separate classes with distinct student lists.
Both patterns work the same way — you are simply choosing which students from your pool to include in each class.
Note on Current Limitations
At this stage, classes are primarily a grouping and assignment tool. They are not yet deeply linked to other parts of the platform. Further integration is planned and will be introduced in future updates.