

Role: Teacher
Estimated time: 2–3 minutes
What this guide helps you do
This guide shows you how to:
Preview your assessment
Assign it to a class
Set dates and conditions
Choose which students receive it
You can assign immediately — or come back later.
Step 1: Save your assessment
Once you’re happy with your questions and settings, click Save.
You do not have to assign it immediately.
If you’re not ready:
Click the back arrow
Return to your Assessments dashboard
Come back and assign later
Nothing is lost.
Step 2: Preview as a student (Optional but recommended)
Before assigning, you can click Preview.
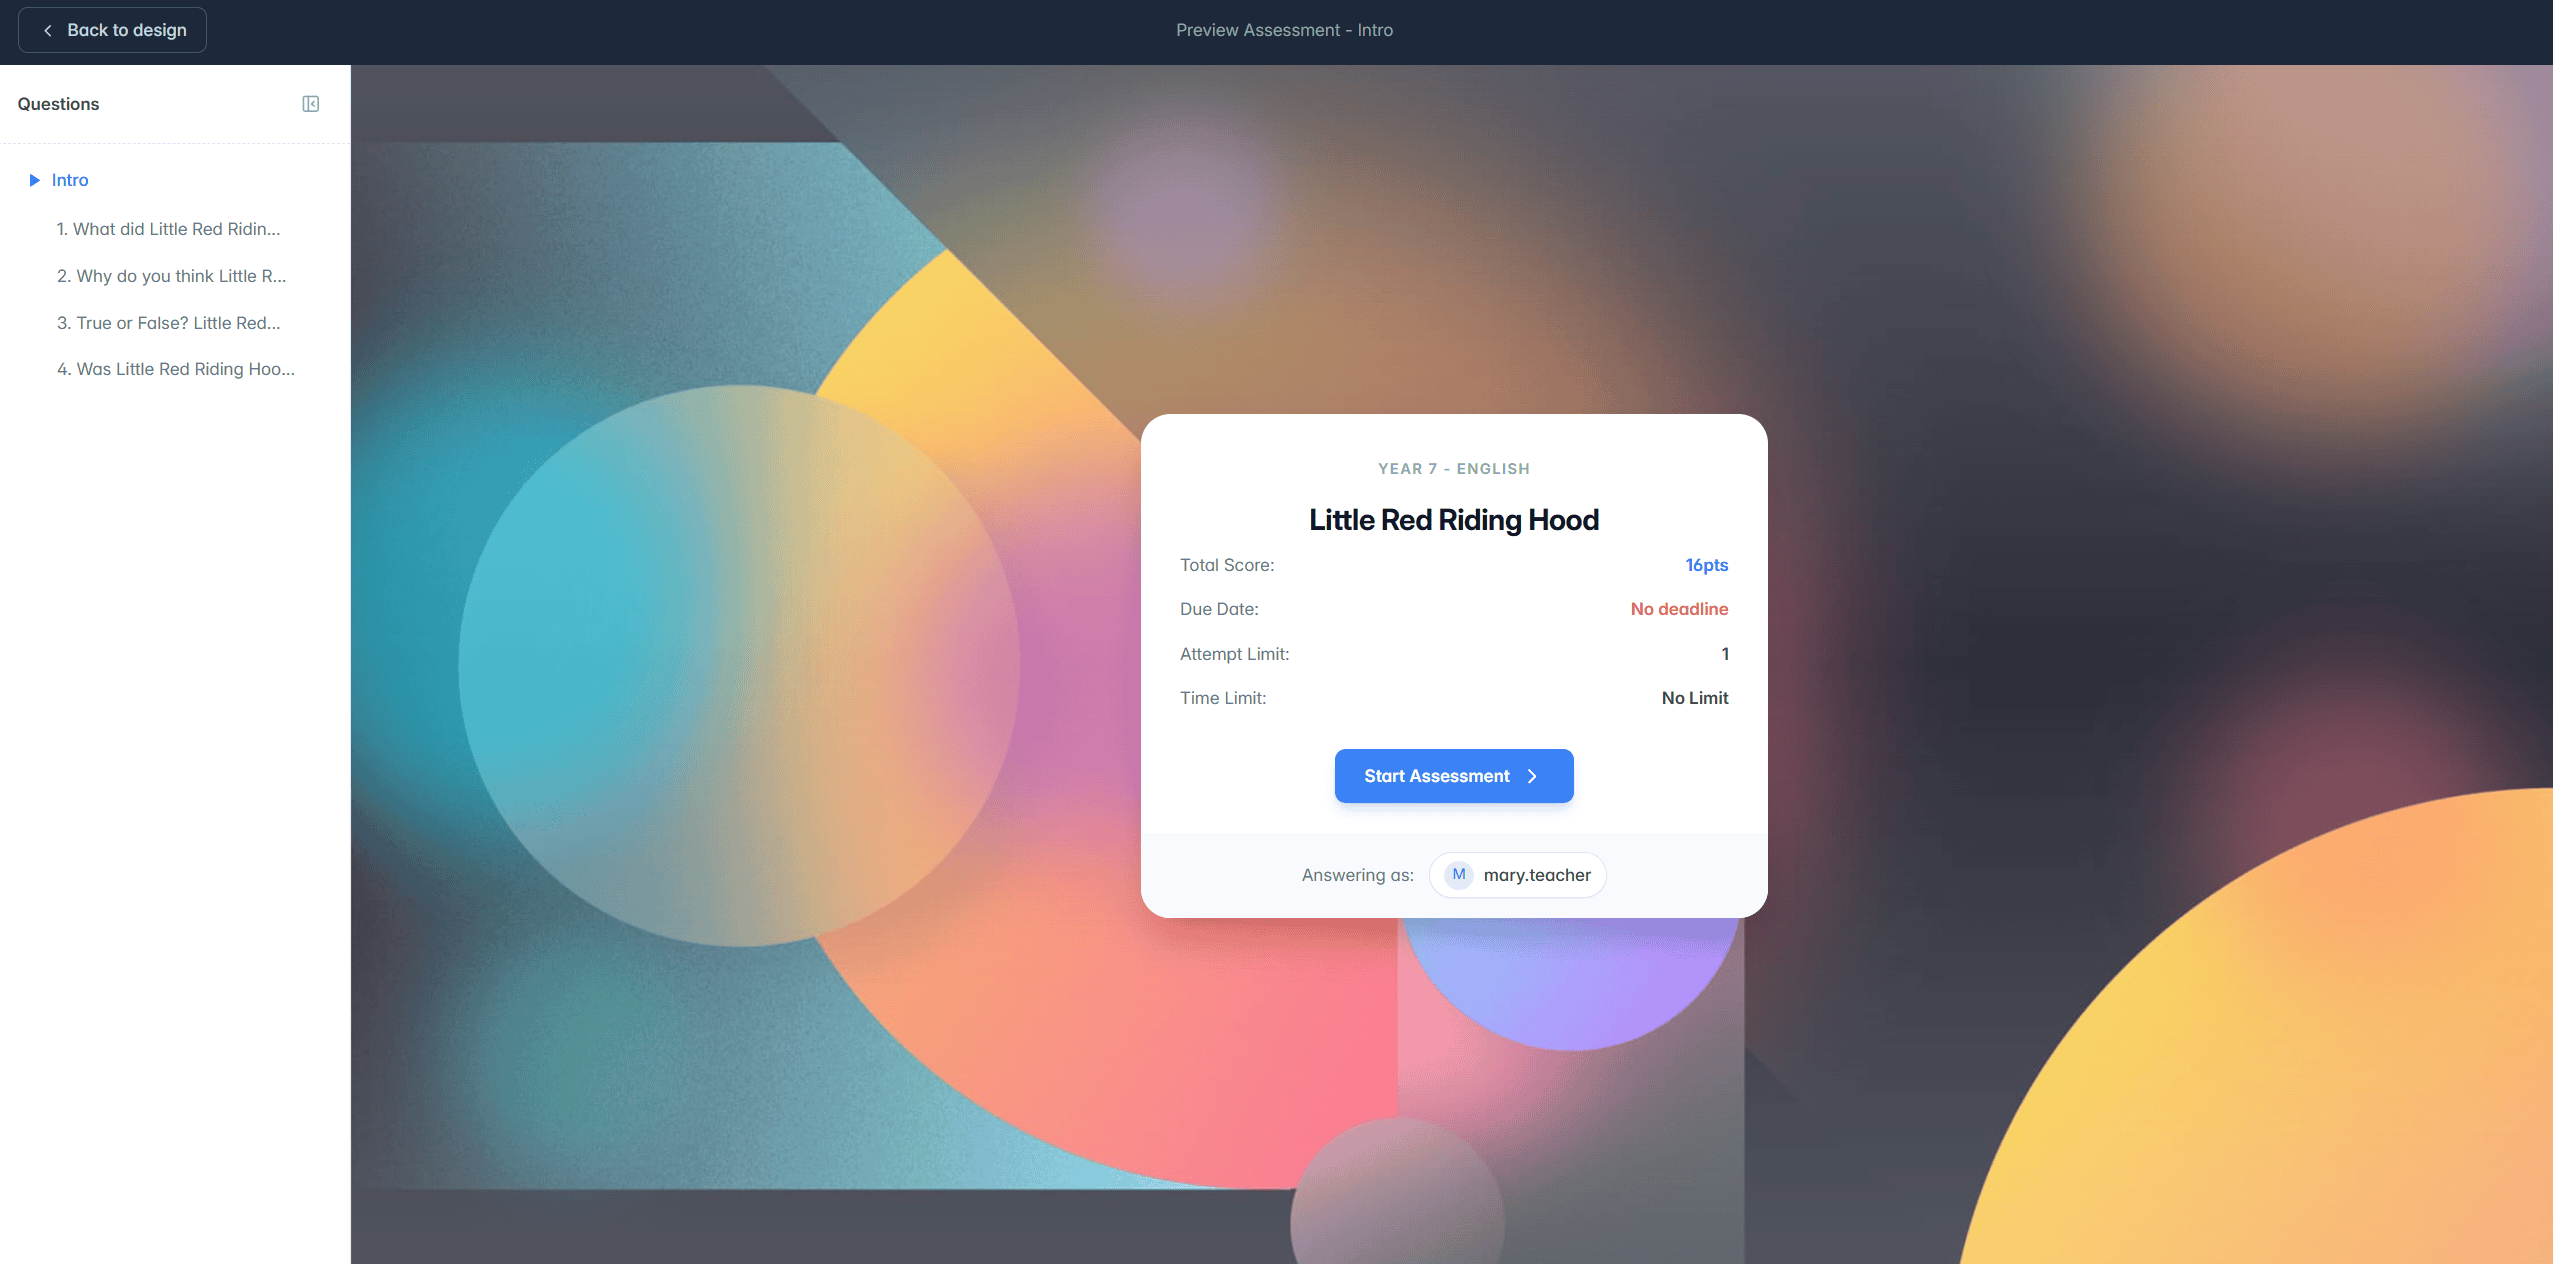
(Insert Screenshot – Preview Intro Screen)
You’ll see:
The assessment overview
Total points
Attempt limit
Time limit
Due date
Then move through to the questions view.
(Insert Screenshot – Preview Questions View)
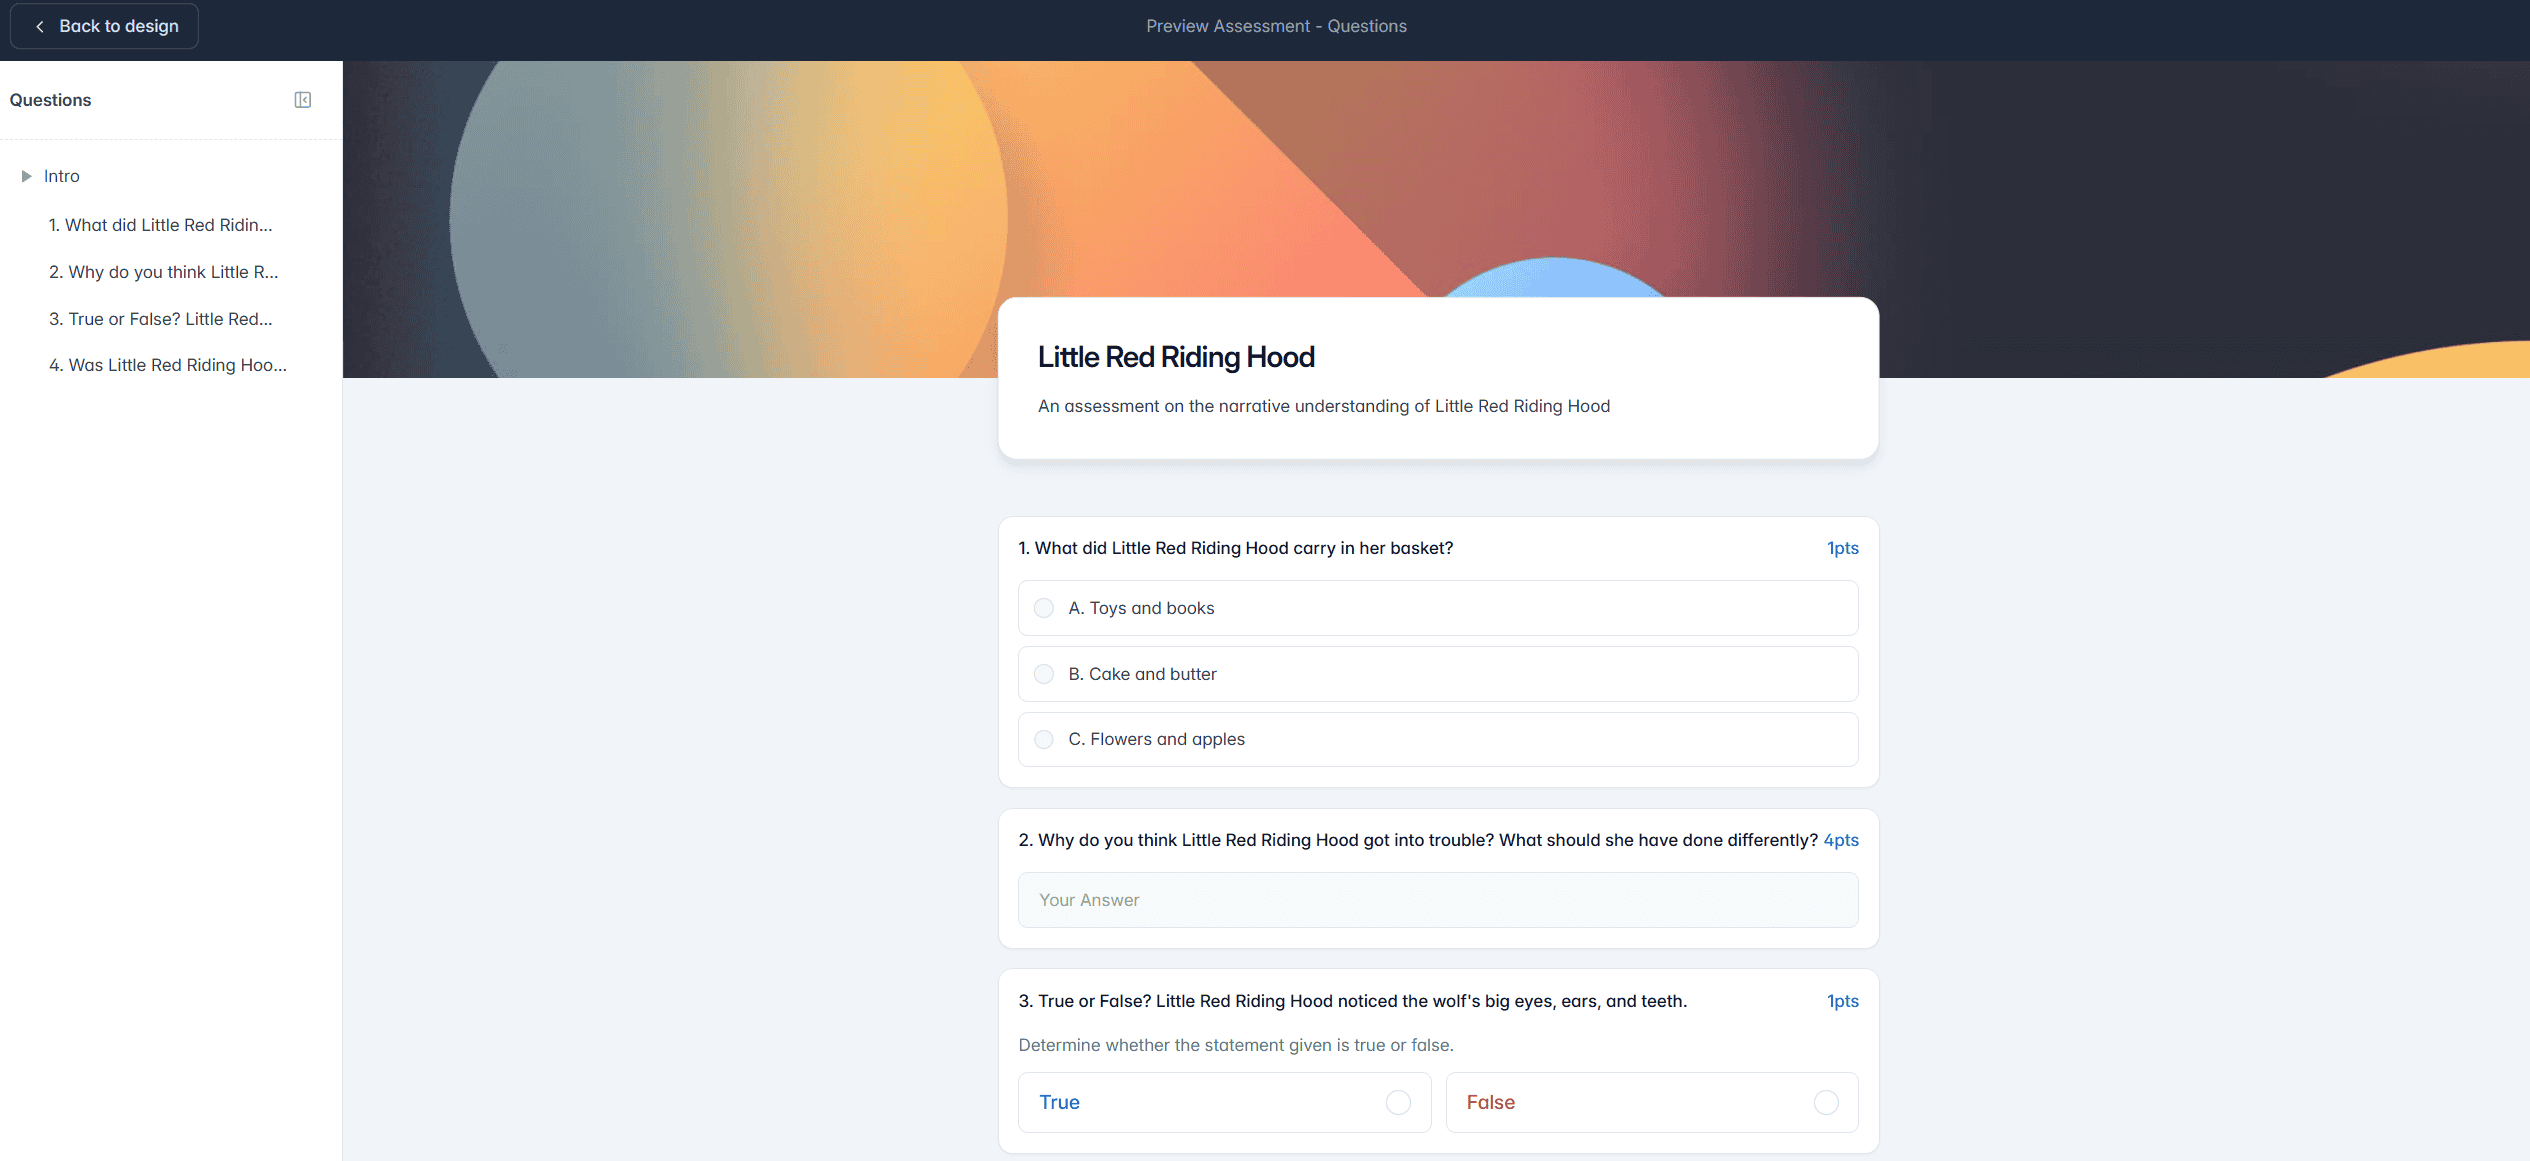
This shows you exactly what students will see when completing the task.
Previewing is a great way to:
Double-check instructions
Confirm point values
Experience the flow from a student’s perspective
When finished, click Back to Design.
Step 3: Click “Assign to Class”
When ready, click the green Assign to Class button.
You’ll be taken to the assignment options screen.
Step 4: Adjust assignment settings
Here you can customise how the assessment is delivered.
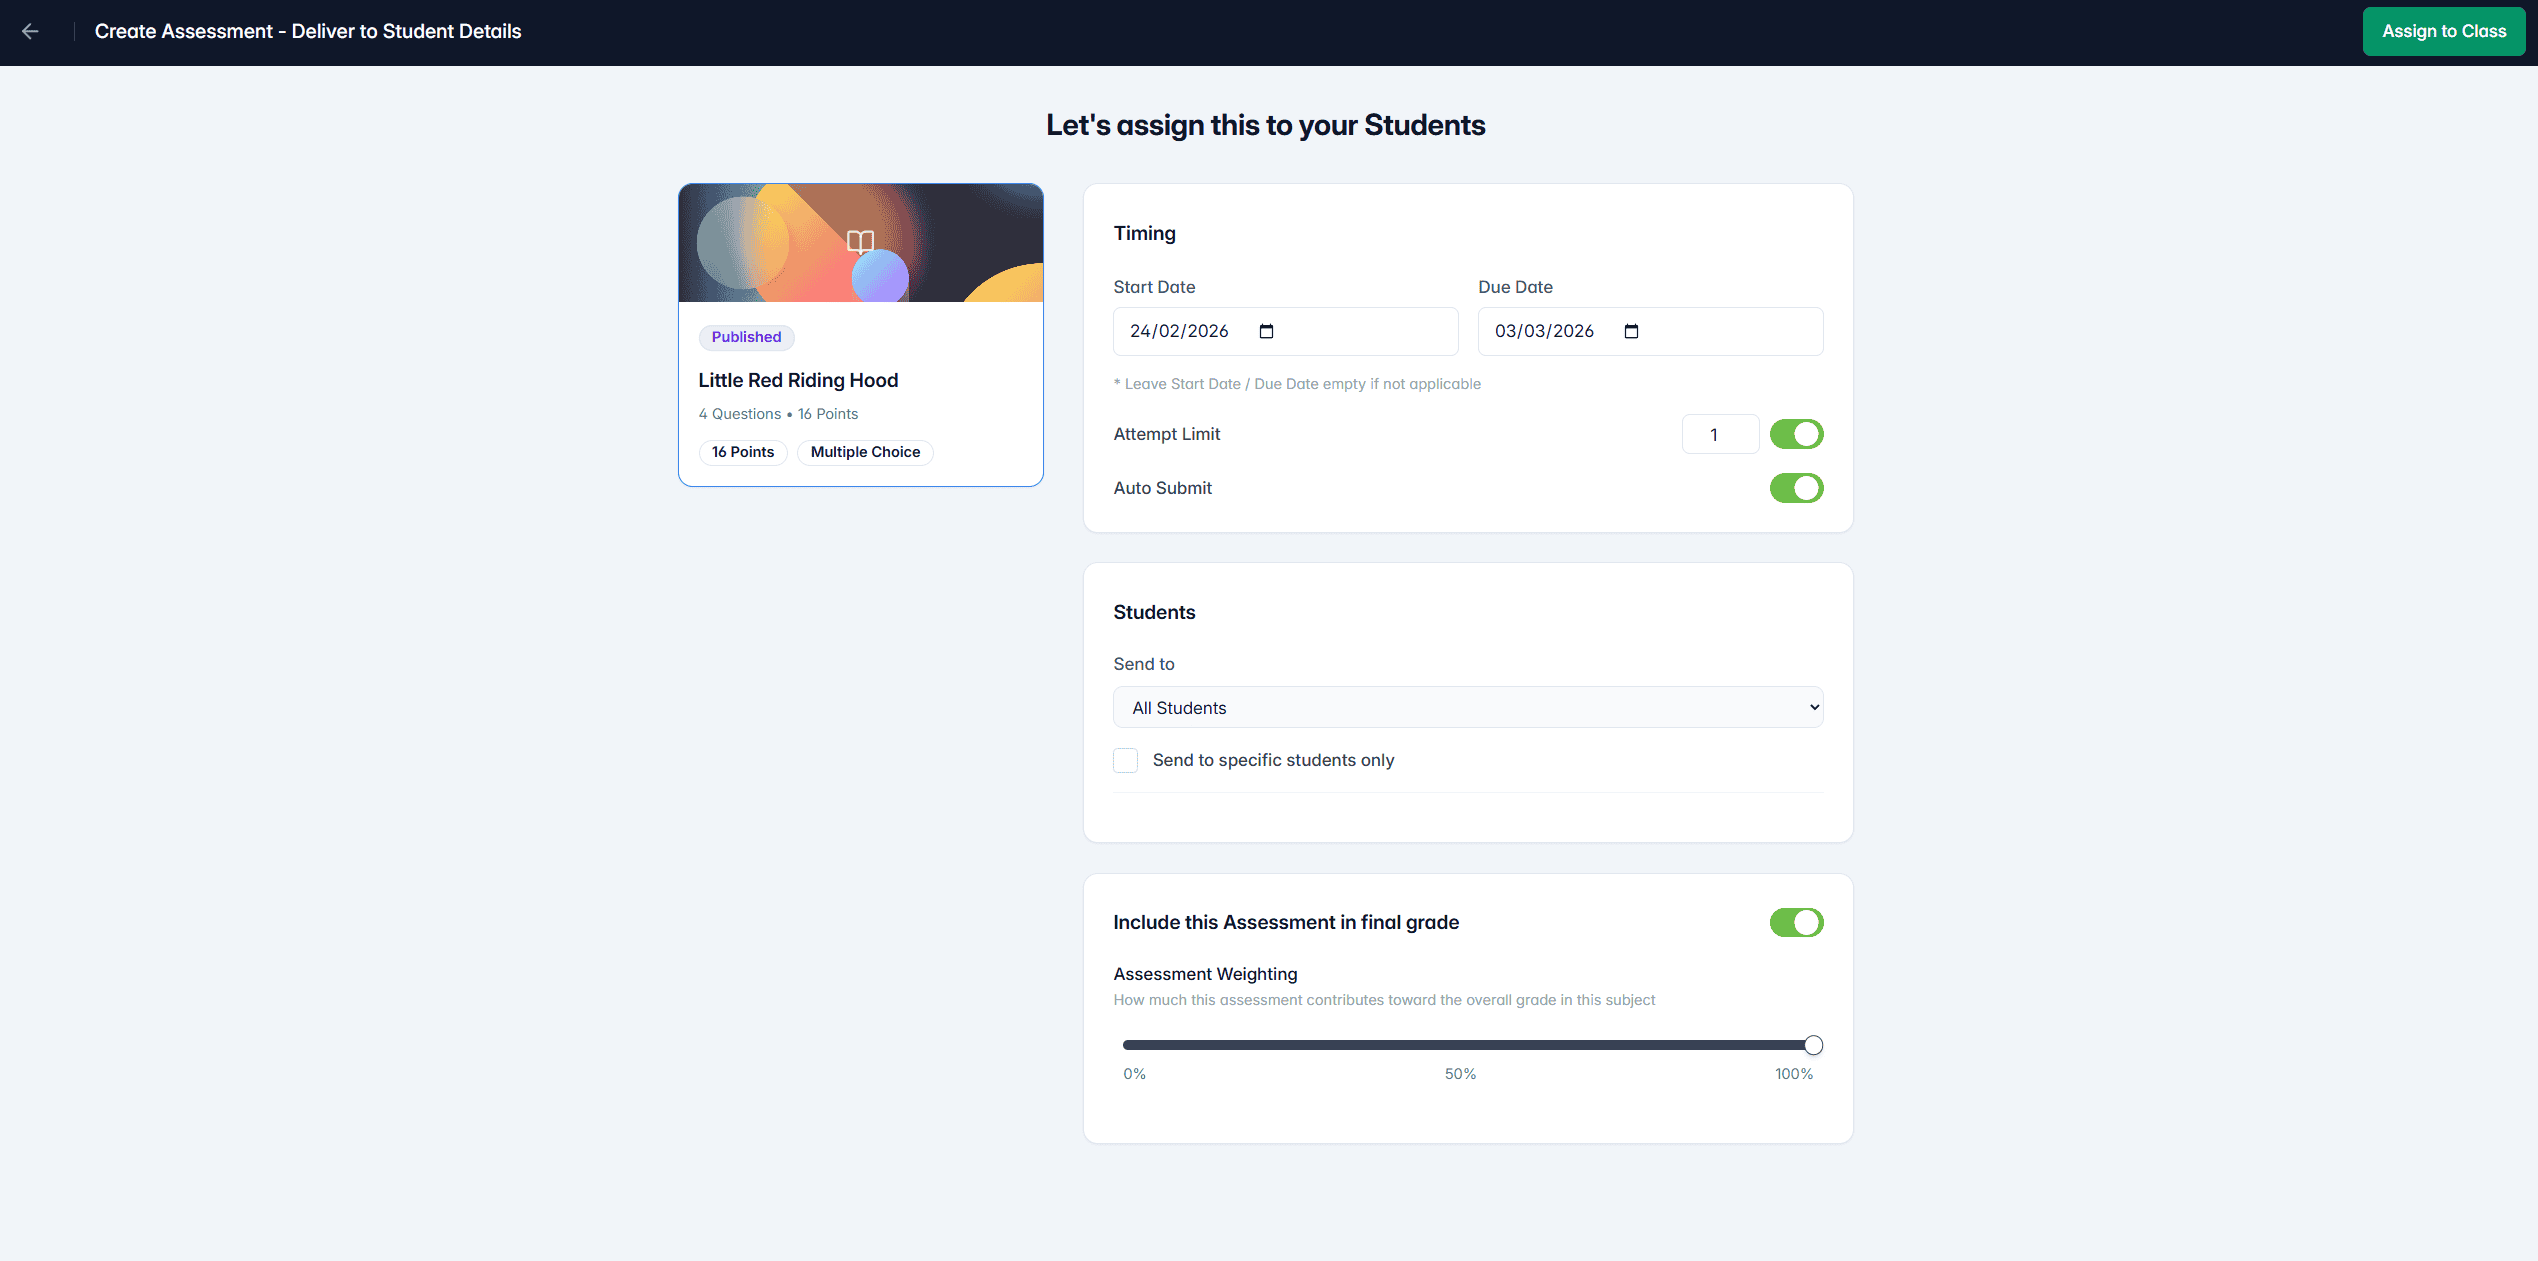
Timing
Set a Start Date
Set a Due Date (optional)
Leave blank if not needed
Attempt Limit
Control how many times students can attempt
Toggle on/off as needed
Auto Submit
Automatically submits when time ends (if applicable)
Step 5: Choose which students receive it
By default, the assessment is sent to:
All Students in the class.
You can instead choose:
☐ Send to specific students only
This is helpful for:
Modified tasks
Catch-up assessments
Extension work
Individual adjustments
Step 6: Final grade inclusion
You can choose whether this assessment:
✔ Counts toward the final grade
or
✖ Is excluded (e.g., practice task, pre-test)
If included, you can adjust its weighting here.
Step 7: Confirm assignment
Click Assign to Class.
You’ll see confirmation:
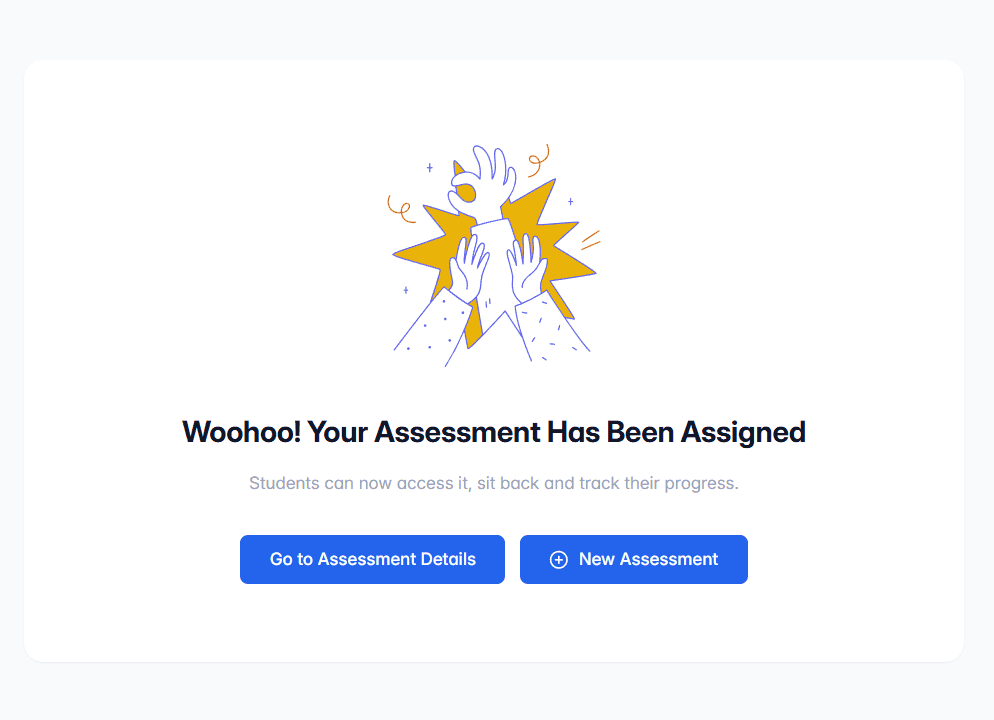
Students can now access the assessment.
After assigning: Viewing assessment details
After you click Assign to Class, you’ll see a confirmation screen.
From here, you can select Go to Assessment Details.
This takes you to the assessment overview page.
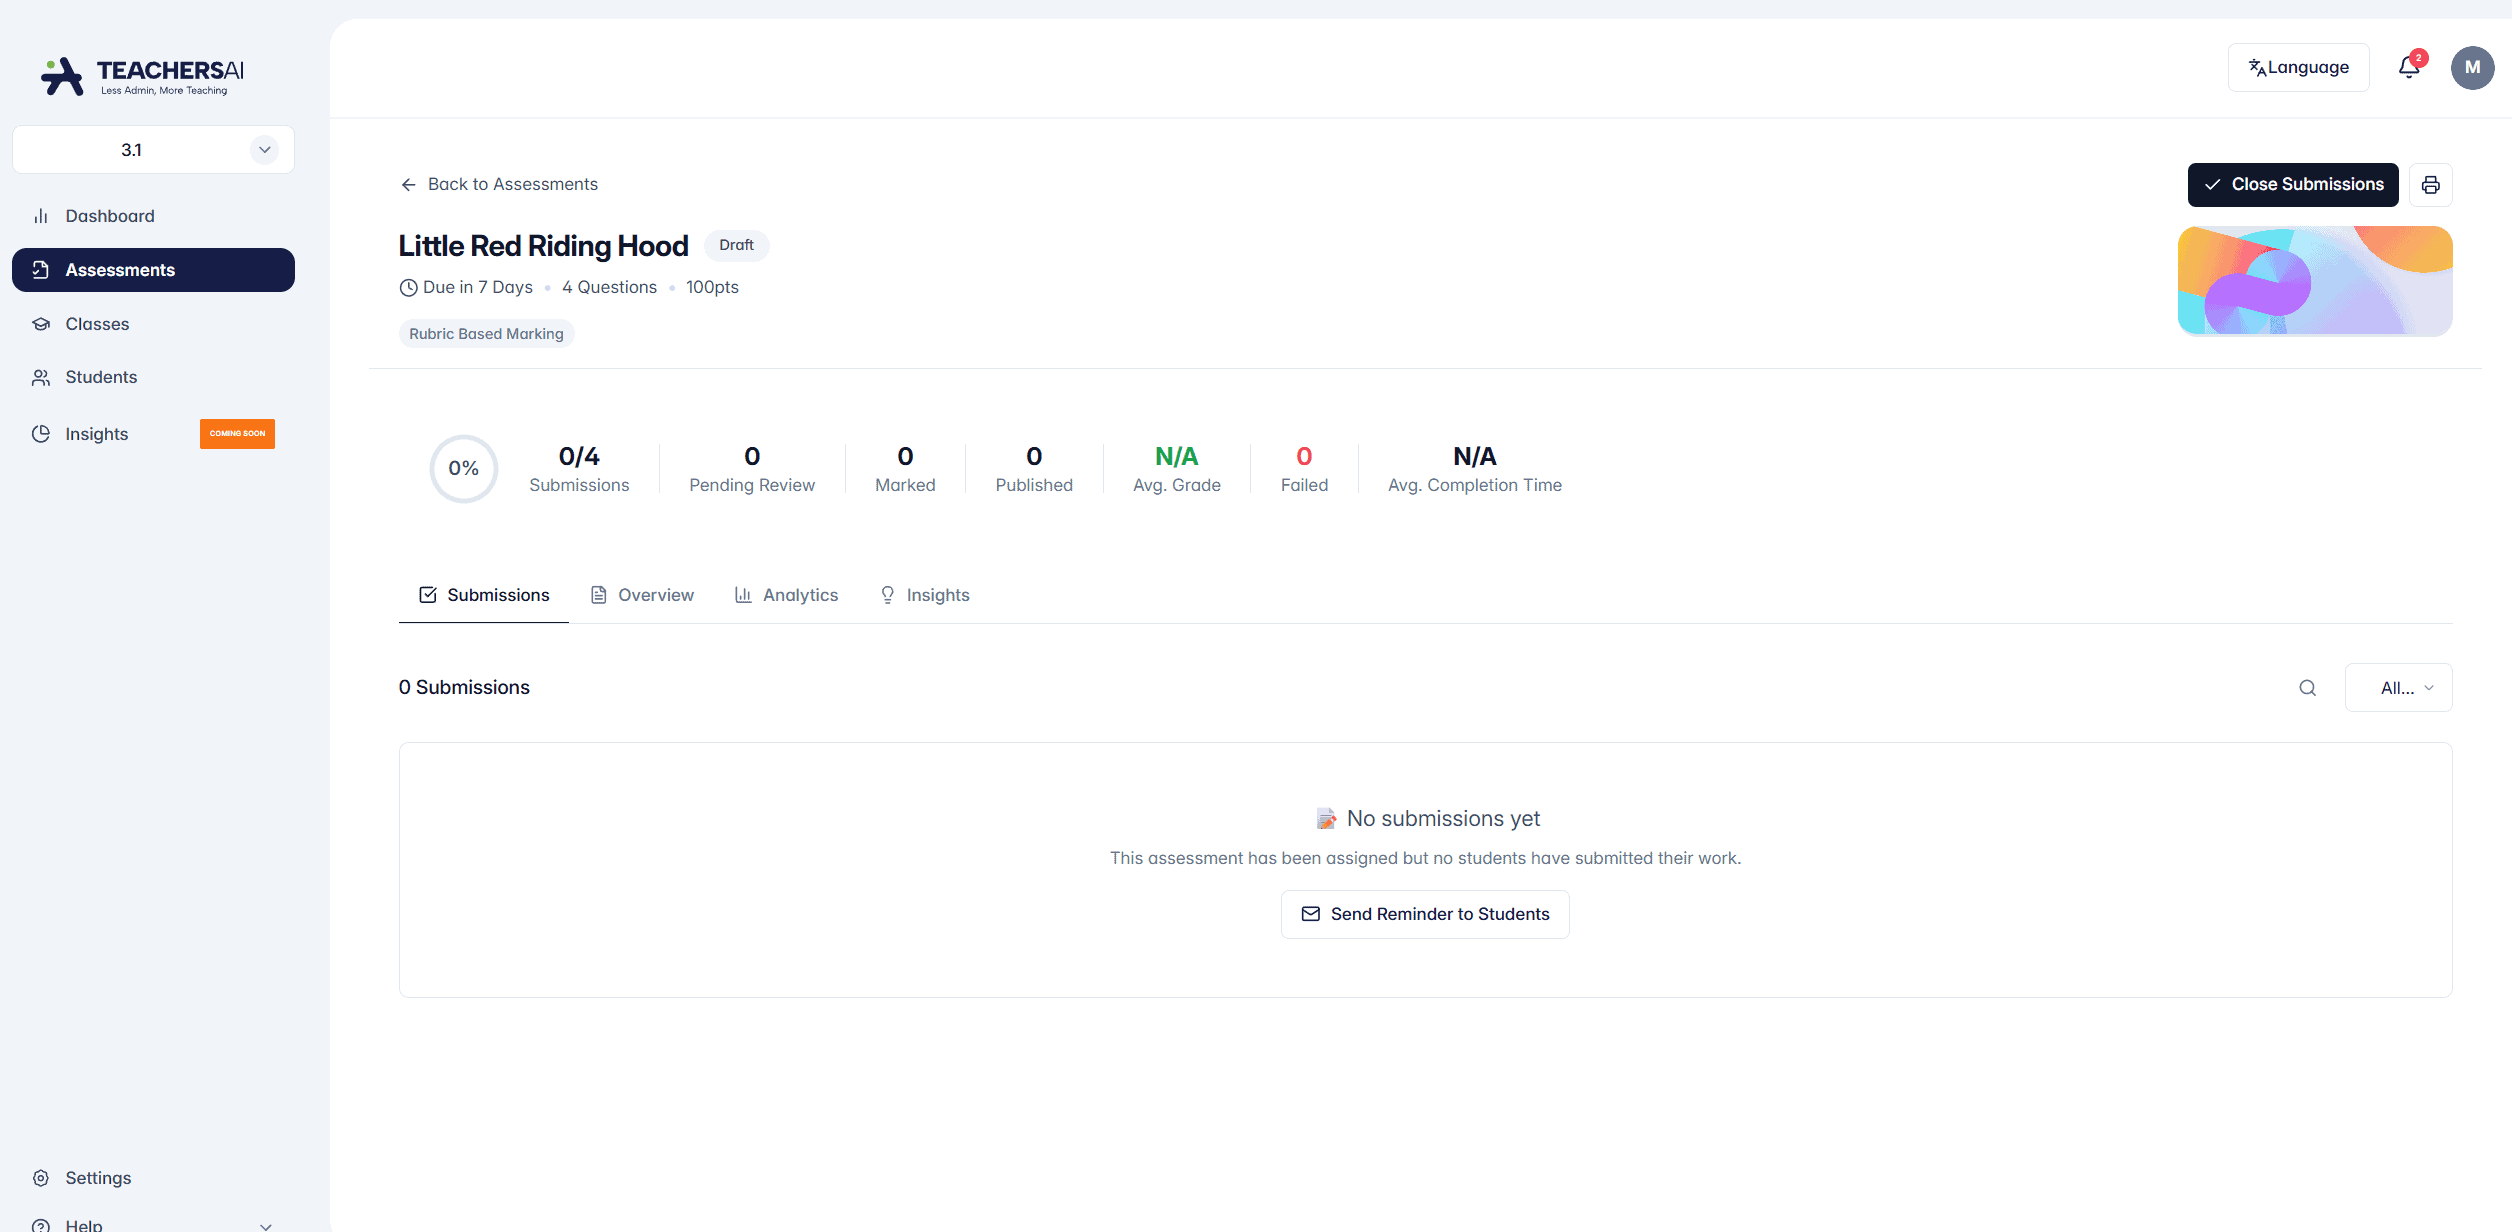
What you can see here
This page becomes your control centre for that now assigned assessment.
You can see:
Total submissions
Pending review
Marked
Published
Average grade
Completion data
You’ll also see:
Who has submitted
Who has not yet submitted
Submission status for each student
If no one has submitted yet, you’ll see a message confirming that.
Important to know
You can assign later — it’s not required immediately
You can preview at any time
You can control who receives it
Settings can evolve over time as we expand delivery options